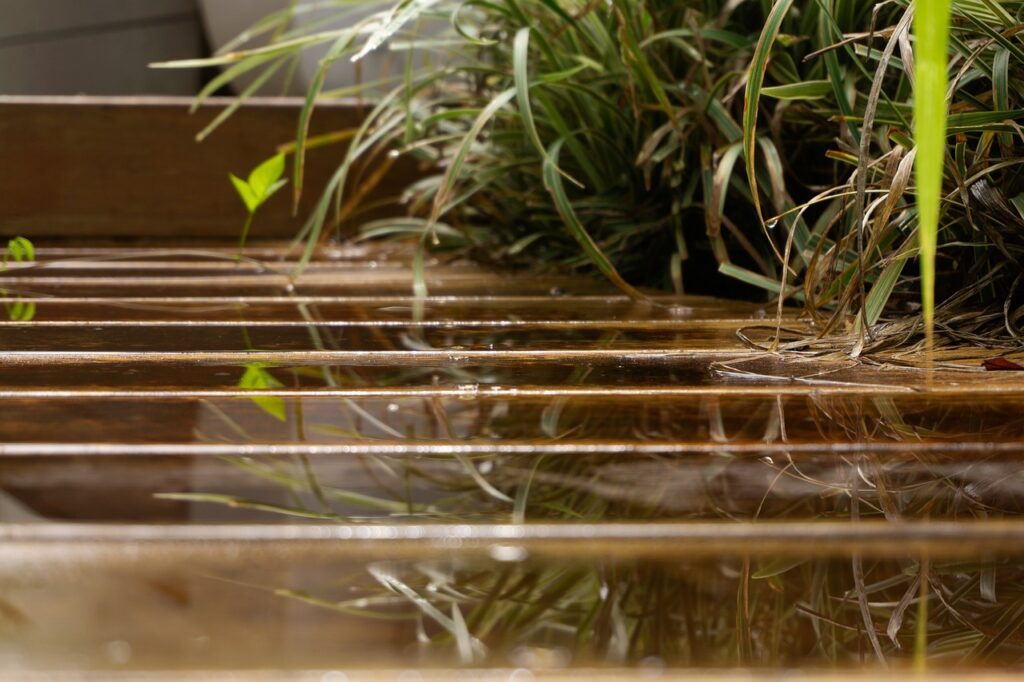
Timber is a versatile and timeless material, but its susceptibility to water damage can significantly shorten its lifespan and degrade its appearance. Waterproofing timber is crucial in preserving its durability, beauty and functionality - making it an essential practice for anyone looking to maintain timber structures and furniture.
Effectively waterproofing timber means you can protect it from the detrimental effects of moisture; warping, rotting, and mould growth. Whether you're protecting wooden fencing, enhancing the longevity of outdoor furniture, or ensuring the structural integrity of a deck frame, waterproofing offers numerous benefits. Explore some of our practical tips on how to waterproof wood for various applications, helping you keep your timber in top condition for years to come.
Timber needs to be waterproofed to maintain its structural integrity and beauty. When it is exposed to water, it absorbs moisture which causes swelling, warping and eventual degradation. Over time timber will crack, split or even rot, particularly in outdoor settings where it is constantly subjected to rain and humidity (Huh? That’s just a regular Aussie week!). Moisture encourages the growth of mould and mildew, which will compromise the strength of your timber and pose health risks.
Ensuring the longevity and functionality of your project is vital to save yourself time repairing or replacing timber and to reduce maintenance costs. Protecting your project from these damaging effects is vital to ensuring its longevity and functionality. Waterproofing creates a barrier that repels water, preventing it from penetrating the surface and causing harm. Waterproofing your project is an essential practice for any DIYer or professional to preserve your hard work.
Wondering exactly how to waterproof wood? These methods are all great options.
Some methods of waterproofing timber are engineered to ‘penetrate’ the surface or the wood whereas others soak in slightly to firm the cellular structure with additional coats building a protective barrier. The method you choose will depend on the project. If you need to put screws/nails in the timber, the barrier method may not be suitable – because the barrier will be compromised by screws/nails meaning moisture can cause damage to the timber through those holes.
Epoxy resin and sealants such as polyurethane, varnish or lacquer are considered barrier methods. They are designed to soak into the surface of the timber and will require multiple coats to build a strong barrier. We recommend researching your chosen method thoroughly as some of these can yellow over time when subjected to sunlight, and others can stain the timber different tones.
Before choosing the right method of waterproofing your project, you need to check if the timber already has a waterproof coating. Sometimes you can purchase timber with a sealant already applied. To test this, splash some water on the surface. If it has already been waterproofed, you’ll notice the water beading. If the water starts to get absorbed by the timber that means you’ll need to waterproof.
Follow these steps before starting the waterproofing process:
Before learning how to waterproof wood, you should know the important safety tips first.
When your timber is completely dry, it’s time to start waterproofing your project. With thicker sealants like epoxy, lacquer and varnish you can start by pouring an amount directly onto the timber, then spreading it around with a brush. You can use any paintbrush for this, but we recommend one with compact, strong bristles to push the thick liquid around easier. You’ll need to do more than one layer to ensure a strong barrier has formed over the surface, but each method will usually specify exactly how many to do on their instruction labels.
For oils you’ll want to use a brush with flexible, fine hairs. Alternatively, you can use a cloth to rub the oil in. This is because oil is less dense and can be moved around easily. The oil will sink into the timber a lot quicker than barrier sealants, so you’ll want to work quickly. Oils usually require 3 or more coats to ensure every inch of the timber is thoroughly soaked with sealant. Again, follow the instructions of your chosen oil for a specific number of coats.
Regular maintenance is key to prolonging the effectiveness of waterproofing treatments, as these protective layers can wear down over time due to weathering and usage. To extend the lifespan of your waterproofed timber, it is important to periodically clean the surface to remove dirt, mildew, and debris - which can degrade the waterproof barrier. Additionally, applying a fresh coat of waterproof sealant when needed helps reinforce the protection. You’ll know to reapply the sealant if water no longer beads on the surface or if you notice fading, peeling or cracking of the sealant. By addressing these signs quickly, you can ensure that your timber remains well-protected, in excellent condition and will last you a long time.
With these tips and tricks, you’ll now know how to waterproof timber so that it repels water and keeps your projects looking fantastic over time. By waterproofing timber, you’re ensuring your hard work doesn’t go to waste and that it remains beautiful and functional for years to come. Remember, investing time and effort into protecting your wood today will save you from costly repairs and replacements in the future.